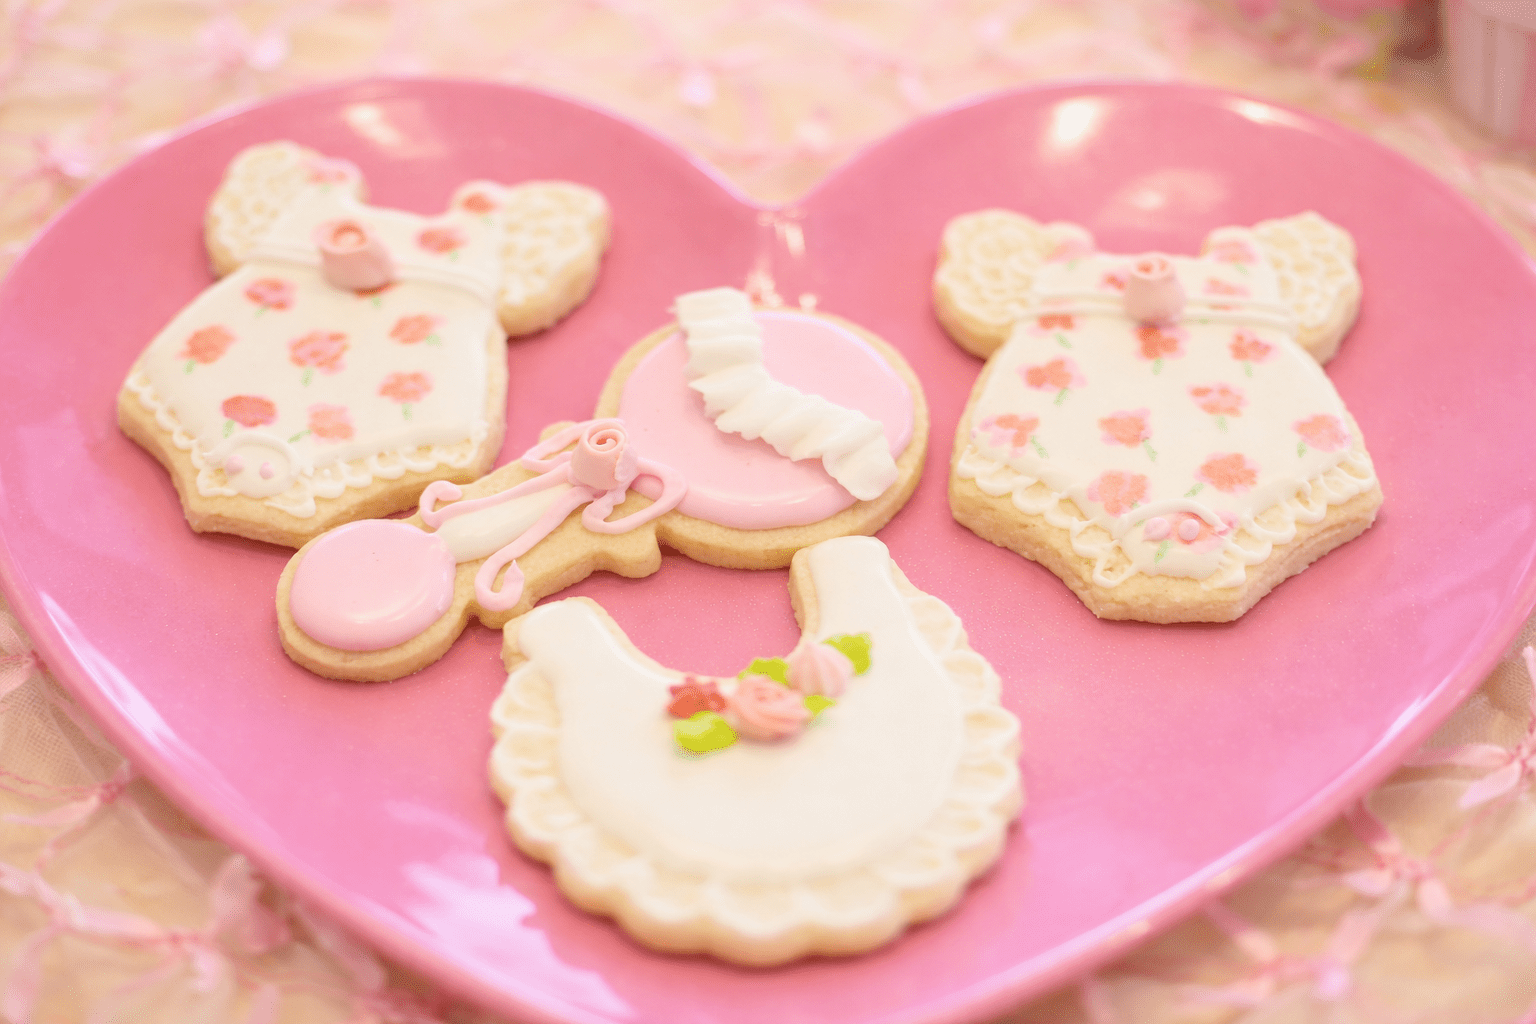
If you searched baby rattle cookie with a bow, you’re probably not here for vague inspiration, because you want a cookie that looks clean, reads “baby shower” instantly, and doesn’t turn into icing chaos halfway through decorating.
This guide follows the exact order people think in real life: pick a baby rattle cookie cutter (or a rattle with bow cookie cutter), bake a shape that won’t warp, then decorate rattle cookies that look like a real baby rattle cookie with a bow.
Why a Baby Rattle Cookie With a Bow Works So Well
A baby rattle shape is visual shorthand.
People see it and immediately think “new baby,” even before they notice the details.
The bow does the heavy lifting.
It turns a simple rattle into a gift-like cookie, which is why rattle cookies show up again and again at baby showers, sip-and-sees, and welcome-home celebrations.
The honest truth is this: a great-looking baby rattle cookie with a bow is mostly about structure, not advanced skill.
If the sections are clean and the bow has shape, the cookie looks professional even with just two colors.
That’s why a baby rattle cookie with a bow is the easiest “wow” cookie you can make for baby showers without advanced skills.
Common Problems With Rattle Cookies
Most rattle cookies fail in the same two places.
The baked shape spreads or puffs, which makes clean icing nearly impossible.
The icing floods too aggressively, blurring edges and swallowing details.
The fix is not fancy technique.
The fix is a stable cookie base and a calm, layered decorating process.
Once the base is stable, rattle cookies become repeatable—and that’s the whole goal.
Choosing the Right Baby Rattle Cookie Cutter: Rattle Cookie Cutter vs Rattle With Bow Cookie Cutter
You’ll see several similar terms online—rattle cookie cutter, baby rattle cookie cutter, and rattle with bow cookie cutter—and they’re easy to mix up.
Plain rattle cookie cutter
A plain rattle cookie cutter gives you a clean silhouette and full freedom to design the bow yourself.
It’s ideal if you want control over bow size, placement, and style.
Rattle with bow cookie cutter
A rattle with bow cookie cutter includes the bow in the cookie outline.
It’s more beginner-friendly and faster for large batches, because the design reads clearly even if your piping is simple.
The easiest decision rule
If this is your first baby rattle cookie with a bow, choose the cutter that removes your hardest step.
You can always upgrade once the process feels familiar.
If you’re shopping online, searching both rattle cookie cutter and baby rattle cookie cutter helps you compare sizes and find shapes with a sturdier handle.
What size baby rattle cookie cutter is easiest for beginners?
For a first batch of rattle cookies, a medium baby rattle cookie cutter gives you enough room to ice cleanly and still keep the handle sturdy.
If the handle looks thin on the listing photo, expect more breakage and more browning at the edges.
Baking Cookies That Hold Their Shape
Everything depends on this step.
You want cookies that are thick, smooth, and fully cooled before icing.
Chill your dough before cutting, and chill again after cutting.
Bake on a flat tray, and avoid overbaking, especially around the handle area.
If the handle is too thin, it browns faster and breaks more easily.
That’s not a decorating issue, it’s a baking one.
A stable bake is what makes a baby rattle cookie with a bow look crisp instead of “slightly melted.”
Royal Icing Basics Without Overthinking
Royal icing behaves beautifully when you respect consistency.
You need:
- Piping consistency for outlines and details
- Flood consistency for smooth fills
Trying to use one icing for everything makes each step harder.
Piping icing should hold a line, while flood icing should level slowly into a smooth surface.
If you’re unsure, test a small dot.
If it spreads like water, it’s too thin.
If it doesn’t move at all, it’s too thick.
Step-by-Step: Decorating Rattle Cookies Into a Baby Rattle Cookie With a Bow
This workflow keeps your cookies consistent, especially when you’re making a full set of rattle cookies for a baby shower.
Step 1: Outline the rattle
Outline the rattle head first, then the handle.
Go slower on curves, because curves show mistakes more than straight lines.
For a quick “designed” look, outline a smaller circle inside the rattle head.
That single detail makes rattle cookies look intentional without extra colors.
Step 2: Flood in sections
Flood the head first, then the handle.
Use a toothpick to guide icing into corners and pop air bubbles.
Working in sections prevents sagging and color bleeding.
This is the difference between “clean” and “why does my icing look like it’s creeping outward.”
Step 3: Let the base set
A lightly set base keeps details crisp.
If it still feels tacky, wait.
Step 4: Add simple handle details
Two or three stripes or dots look intentional.
Too many details make the cookie feel busy.
Step 5: Dry before piping the bow
The base must be firm enough to support raised icing.
If it’s soft, the bow will flatten or slide.
How to pipe a bow on a cookie?
This is where most people panic, but bows are built from simple shapes.
The most reliable answer to How to pipe a bow on a cookie? is: two loops and a center knot.
Beginner-friendly bow method
Pipe a teardrop-shaped loop on the left.
Pipe a matching loop on the right.
Add a small oval knot in the center to cover the join.
If you want tails, add two short strokes under the knot.
Short tails keep the design clean and keep the bow from swallowing the rattle shape.
Ribbon-style bow
This version is wider and flatter, and looks like real ribbon.
It needs thicker icing and a steady hand, but it’s beautiful for pastel sets.
Fast fixes
If the bow spreads, your icing is too thin.
If it looks jagged, your icing is too thick or you’re piping too fast.
If it looks flat, the base wasn’t dry enough.
Fix once, then stop.
A clean bow is what makes a baby rattle cookie with a bow look finished, even when the rest stays simple.
Color Combinations That Look Expensive
Soft, limited palettes work best:
- pastel pink + white
- baby blue + cream
- sage green + ivory
- butter yellow + white
Two colors almost always look more polished than five.
If you want texture without complexity, use wet-on-wet dots or gentle swirls while the base is still fresh.
Batch Workflow for 24–60 Rattle Cookies
Batch decorating is about reducing decisions, not rushing.
Use this order:
- Outline and flood all bases
- Let them set
- Add handle details
- Pipe all bows
- Dry fully
- Package
This keeps the entire set consistent.
With this order, your rattle cookies look like a matching set instead of random one-offs, and every cookie reads as a baby rattle cookie with a bow at a glance.
How to decorate cookies with a 2 year old?
Real life matters.
If a toddler wants to help, the process needs to change.
You do the structure.
They do the fun.
To answer How to decorate cookies with a 2 year old?: pre-flood cookies and let them set, then let your child add sprinkles or candy to the rattle head or bow area.
Skip piping bags for toddlers.
Use a spoon for dabbing icing instead of squeezing.
What to use to decorate cookies with kids?
What to use to decorate cookies with kids? Choose big, easy-to-grab toppings and low-mess tools so the fun doesn’t turn into frustration.
Here’s the practical kit:
- sprinkles in a small cup
- larger sugar shapes
- mini chocolate chips
- edible pearls
- squeeze-tube icing for kids
- toothpicks for quick cleanup
Contain the mess by using a tray as a sprinkle zone, because toddlers treat an open sprinkle jar like a personal mission.
Why are arrowroot cookies called baby cookies?
Why are arrowroot cookies called baby cookies?
Arrowroot biscuits have traditionally been marketed as mild, easy-to-soften biscuits for babies and toddlers, and that history is why many people casually call them “baby cookies.”
They are a separate category from decorated sugar cookies.
A baby rattle cookie with a bow is a themed celebration cookie, not a baby food product.
Common Fail Points and Quick Fixes
Icing bleeding means layers weren’t set or icing was too thin.
Soft edges mean outlines were too weak or flooded too aggressively.
Collapsed bows mean the icing or base wasn’t firm enough.
Cracked cookies mean overbaking or uneven dough thickness.
Every issue has a fix, and none of them require starting over.
A Simple Checklist You Can Follow Mid-Batch
Bake thick cookies that hold shape.
Mix two royal icing consistencies.
Outline and flood in sections.
Let the base set.
Answer How to pipe a bow on a cookie? with two loops and a knot.
Add one small detail consistently.
Dry fully, then package.
That’s how you make a baby rattle cookie with a bow that looks at home on a baby shower dessert table, whether you used a rattle cookie cutter, a baby rattle cookie cutter, or a rattle with bow cookie cutter.
Final Thought
Clean edges, a bow with shape, and patience between layers matter more than talent.
Once you’ve done one solid batch, you won’t need endless inspiration, because you’ll have a repeatable process that works for rattle cookies every time.
Learn more

As a mom of two, I learned when to stop burping a baby through trial and error. I’m sharing this clear, milestone-based guide so you can navigate this step with confidence.
Related Articles
You’re not alone on this parenting journey — every mom and dad learns step by step.Explore our baby essentials, parenting tips to help you raise baby with confidence and calm.
-
-

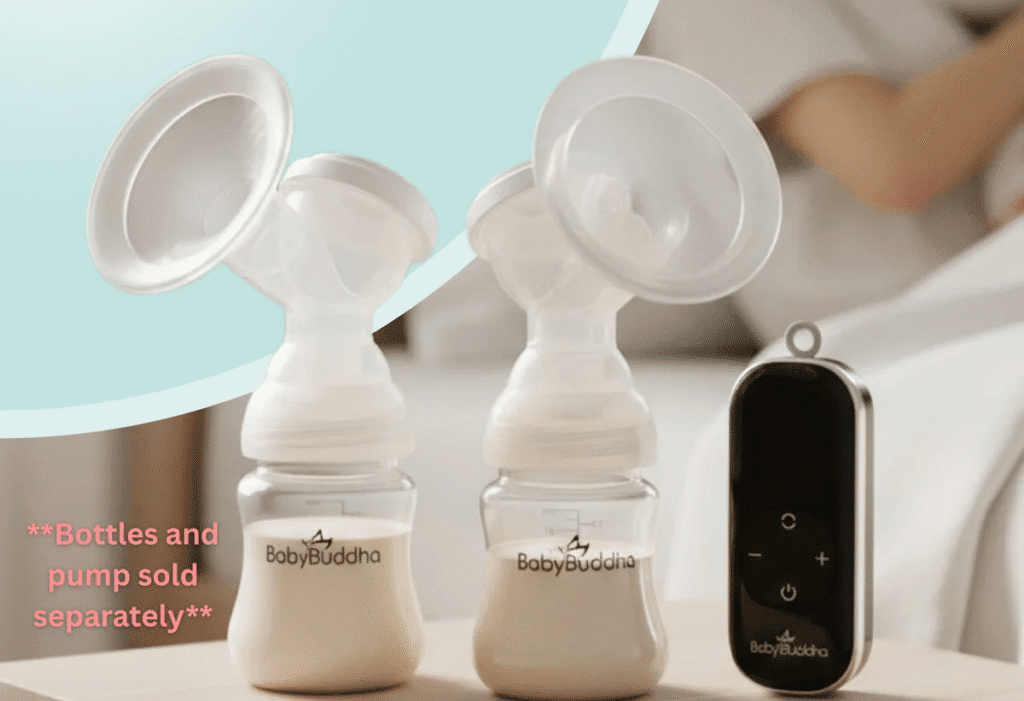
Baby Buddha 2.0 Reviews: A Working Mom’s Honest Take on Whether It’s Worth?
Here’s the thing—you’re juggling a million decisions as a new mom, and choosing a breast pump feels impossibly high-stakes. Will it actually empty you? Can you pump at work without…
-
Is Albeebaby Legit? My real Albee Baby Review
I’m a mom of two. When my oldest daughter was born, it was right in COVID-19 pandemic. so almost everything was bought through a babyonline store. I remember buying a…
-
Thanks God!! My daughter can finally sleep regularly.
My oldest daughter went through a challenging phase between 2.5 and 3 years old where she absolutely refused to sleep—sometimes staying awake until 3 AM! It took me quite a…
-